Showing posts with label Tutorial Tuesday. Show all posts

Tuesday, May 3, 2011

Mother's Day Gift {Tutorial Find Tuesday}

I found the sweetest tutorial over on Back40Life.com for this sweet project. This is a great little activity for kids and a wonderful keepsake for Mothers & Grandmothers this Mother's Day.

You can find the tutorial HERE
Another tutorial which I am seriously wanting to make for myself (once I find my sewing machine in our storage space). This fun tote called the "Angela Shoulder Bag" from Sew4Home...

You can find the tutorial HERE
One more fabulous tutorial, one that is for us adults to make for the special Moms in our lives. This "Crock Pot Coffee Kitchen Soap" from Heart, Hands, Home blog, is great for getting rid of those tough smells like onion and garlic that for some reason don't want to leave your hands no matter how many times you wash them with regular hand soap. *Please note this project is not suitable for children.

You can find the tutorial HERE

I hope these tutorial finds help those of you who need last minute Mother's Day gifts this week.
Happy Tuesday!
Hugs,
Pam

Tuesday, April 19, 2011

The BEST Tutorial EVER...Not So Much! {Tutorial Tuesday}

Instead of a fabulous tutorial today I wanted to share something that I tried and completely bombed! Ice cream bonbons, sounds easy enough...I mean I have made cake pops, so what could be the issue. Just scoop out balls of ice cream, freeze solid, melt chocolate and pour or dip ice cream, voila.


UM yeah...not so much! I set off with my instructions from All You magazine did as I was told and ended up with a big blobby mess of melted ice cream! I started out by scooping my ice cream, which started melting before I was finishing up the last scoop. I then froze these ice cream balls over night to make sure they were solid. The next day melted my chocolate as directed and as soon as it was ready I ran and got my ice cream out of the deep freeze. First attempt, dipping the ice cream right into the chocolate....the chocolate wouldn't stick and the ice cream began to melt. OK...second attempt...drizzle chocolate onto ice cream which is still frozen to cookie tray, once again chocolate just slid right off the ice cream. Seriously I tried everything and that chocolate would not stick! Completely frustrated and left with a big melting mess of wasted chocolate and ice cream. Next time...I will just buy ready made bonbons...well worth the time, the money and the hassle!

I hope my tutorial today will save you some time and money...LOL
Have a great day!
Hugs,
Pam

Tuesday, March 29, 2011

A different sort of pom pom {Tutorial Tuesday}

I am sure you have all seen a million tutorials on making tissue paper pom poms, as these light weight decorations are everywhere! Well mine are just a tad bit different. I wanted small pom poms or should I say "pom" since it's really just half of one. A half a pom pom that I could use to decorate my mini boxes, bottles, gift bags, napkins...you name it! (see I used them on the wine bottle and my mini cupcake box in the photo above)
OK OK I know there have already been half pom poms which do just this, but mine are made out of something a little different...wax paper. Think about it, wax paper slips a little bit and has a nice weight to it, plus when you krinkle it you get a fabulous white pattern, not to mention the lovely shine to it.
So here we go...mini half pom poms made from wax paper.


Supplies you will need:
4 pieces of wax paper cut to 3"x 5"
Approximately 6" of bakers twine (mine is from The Twinery)
Scissors


Step 1
Stack your four sheets of wax paper and taking your short side folding it about a half and inch over on top of itself back and forth, creating a fan.


Step 2
Tie a knot around the center of your fan, leaving two tales.


Step 3 
With sharp scissors cut the ends of your fan either into points or rounded ends. I felt that the pointy ends made the pom poms look a bit like Carnations.


Step 4
On one side of your knot, start peeling your wax paper layers upward towards the knot. Be careful, while the wax paper is forgiving it can still rip. Take your time and work the paper upward, layer by layer. 

 
Step 5
Same process on the other end of your fan, pull each layer up toward the knot (center of your pom pom). Once all of your layers have been separated, you can fluff...scrunch...play with your pom pom a bit until it looks like a flower.


Step 6
Repeat all steps and make a ton of these sweet looking flower pom poms.


Give them a try and see what you think. Now if only they made wax paper in different colors!

On a different note, I have been added to the Circle of Moms "Top 25 Party Plannin Moms". I love to plan parties for my children, my friends and even their friends, so I have added a vote button on the top left of my blog. If you feel that my little ol' blog is worthy I would love your vote daily until April 11th!! While I know this is simply a popularity contest it would still be a fabulous honor to actually be in the top 25!!

Have a wonderful day friends!
Hugs,
Pam

Tuesday, March 22, 2011

Carrot Easter Basket {Tutorial Tuesday}

A wonderful resource for paper crafters is Splitcoast Stampers. I became a member back in 2004 or 2005 and have found many useful tutorials and tons of inspiration over there.
Today I wanted to share a link I found on Splitcoast for a great tutorial created by Brooke Stockman on how to make this adorable "Carrot Easter Basket".  Hop on over and see if you have what it takes to create this cute basket. What an adorable Spring treat for family or friends.

Have a great day!
hugs,
Pam

Tuesday, February 1, 2011

Sweet Little Bag {Tutorial Tuesday}

Well I am going to cheat a bit as I have been completely swamped all weekend, plus my kids are off today. Not from a ton of snow, its because of the frigid temperatures. Only -8 degrees right now at 9:30AM...brrrr! SO I am hoping to catch up here in the next few days and get a breather by this weekend. Anyway, I wanted to share a video tutorial that I came across on my many trips to the Martha website. I think this is the sweetest little bag and totally want to try it...someday! You can find the video tutorial and instruction HERE.


What a great party favor bag this would be for a ladies night out!
Thanks so much for stopping in! I am off to style a party display...this one is for all those little Superheros! Can't wait to show you.

Hugs, 
Pam

Tuesday, January 11, 2011

Snowflake Hearts {Tutorial Tuesday}


With Valentine's Day right around the corner I wanted to create a fun projects that all of my kids could help me create. The collaboration of paper snowflakes and hanging hearts popped into my head! My older kids had no problem with cutting these, but my 6 year old had a hard time cutting through all of the layers. I had her point out where she wanted me to cut and when we were finished she got to open it up and see the design "she created"! Here is how I did it...


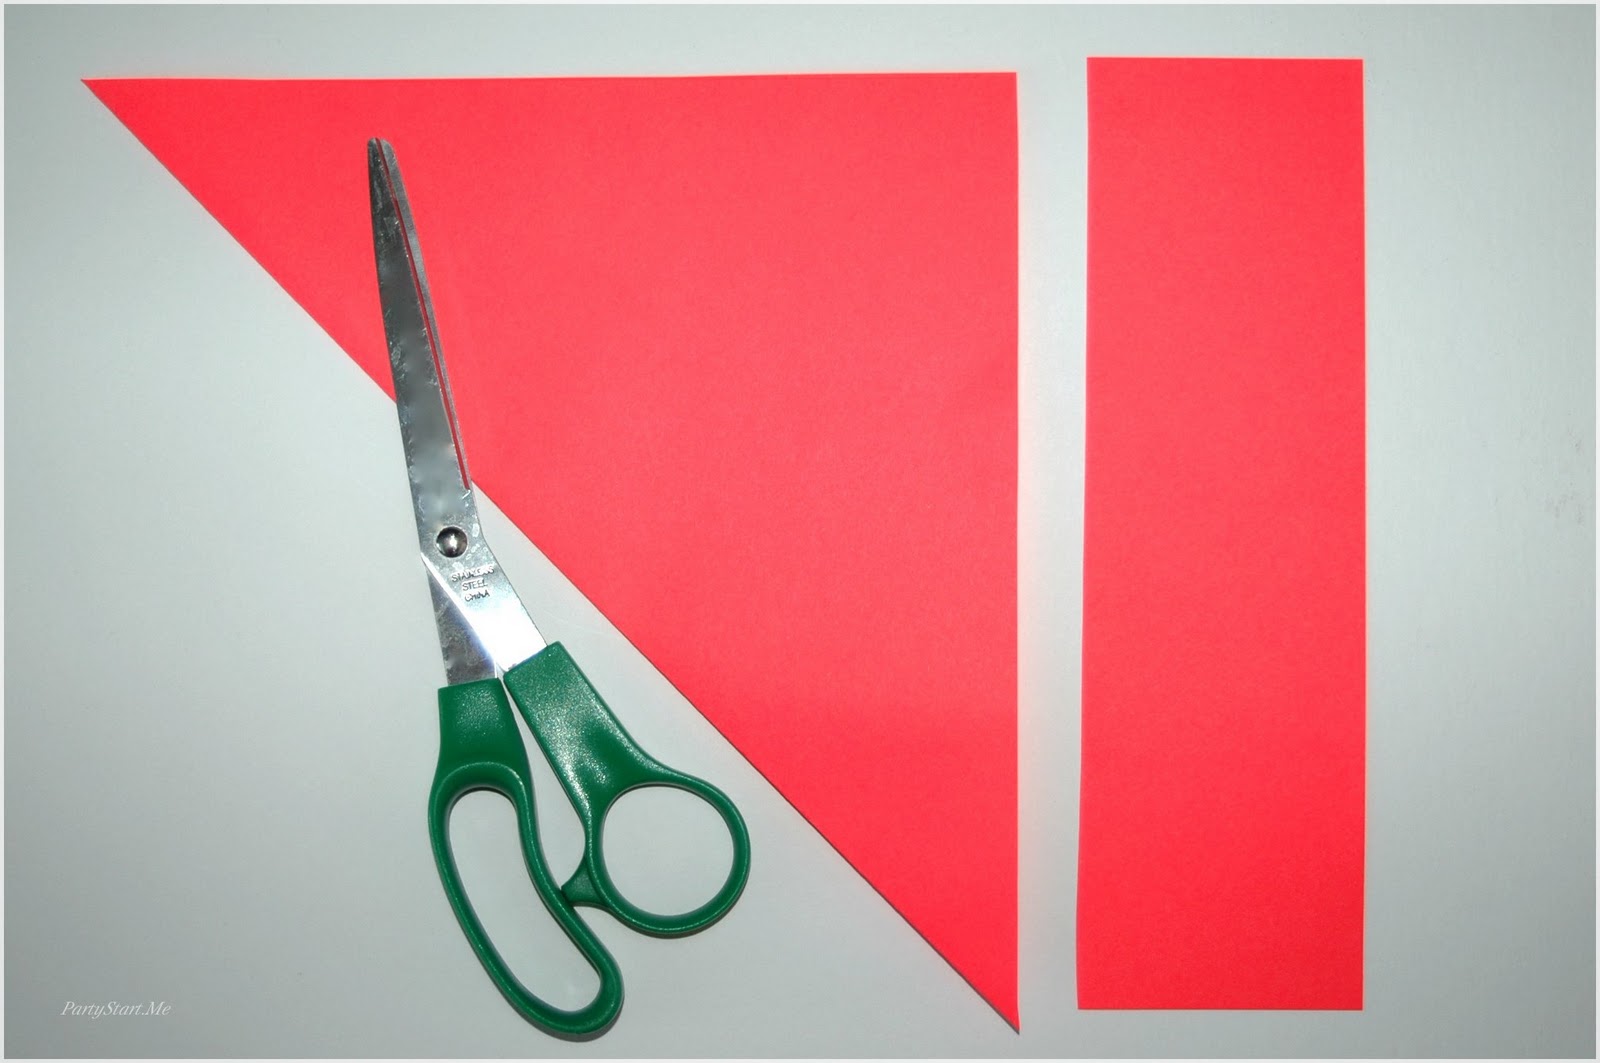
Step 1. Using a piece of 8.5" x 11" copy paper pull one corner over to the opposite side, create a triangle


Step 2. Cut off excess strip of paper. when you unfold your triangle you will have a perfect square

Step 3. Take your triangle, holding onto the folded side cut a large tear drop shape. When you open up your paper you will have a heart shape.


Step 4. Take the point of your tear drop and fold your paper upwards a little over half way and crease.


Now Flip your paper over


Step 5. Flip over your paper and fold your paper in half vertically.


Step 6. Start cutting out small tear drop shapes along the sides of your "cone shaped paper". 
Make sure not to cut off your folded sides completely or your heart will fall apart.

Step 7.  Open up your paper and check out your design! 

Cut out different shaped hearts each time in a variety of colors. Then using ribbon or fishing line hang your hearts at different lengths from the ceiling to create a fun mobile. These would also be an adorable decoration taped to windows, walls and doors OR made into a fun bunting.


The best part is that all of those little tear drops you cut out, make great heart confetti to put in with your Valentine cards! I hope you try out this fun and easy project. 
Hugs,
Pam

LinkWithin

Related Posts with Thumbnails