Showing posts with label my grafico. Show all posts

Tuesday, January 24, 2012

Brag Party {DIY Inspiration}

I was recently invited to be apart of My Grafico's Brag Party group. Every week an image is shared with this group to use for free, so that you can share/brag what you designed with this image.
This past week we were given the cherry image from this adorable clipart set created by dreAmLoft called "Cherry Love". 


Here is what I made using one of my DIY kraft mini gable boxes. 


I created a tag, added the cherry image and a sentiment that will work great for Valentine's Day or any day for that matter. I used a clear craft lacquer on the hearts to make them look really juicy!  Using a eyelet border punch I created a fun border along the white edge of a piece of green gingham paper I printed out. This piece was then wrapped around my box and the tag was attached on the front. A piece of white taffeta ribbon adorns the handle. Not quite sure what I will put in this box, maybe some wrapped chocolates or a gift card, maybe both! 

Be sure to check out the Brag Party group on My Grafico and see what fun things you can create with their free image each week.

Thanks for stopping in!
Hugs,
Pam

Wednesday, January 26, 2011

Polka dots & Pirouettes {Whatever Wednesday}

My girlfriend's daughter, Amelia just had her first birthday, so to celebrate I styled this little afternoon party for her. I used the Polka dots & Pirouettes party set that I created for My Grafico using Zenware Designs Ballet clipart also from My Grafico.

  
Macarons from Green Eyed Susan...Amelia loved them (so did I)


 Favor wands for the older girls, also made cute decorations. 
I used the large party circles in the collection to create these.


Glass bottles with special wrappers were available for lemonade.

 Oh yeah those macarons are really good! 


Every birthday party needs cake and these cupcakes adorned with festive cupcake toppers were just the right size for all of the little kids.


Still enjoying the macarons, every little crum!
Macarons by Green Eyed Susan
 Buffet tent cards described everything on the table. 


 Have to have a banner and I wanted to create a sweet and simple one for Amelia. 
The Polka dots & Pirouette collection contains blank banner pieces. 
All you have to do is add the letters, print, cut and assemble.

 The cupcakes were good too! 
Happy 1st Birthday Amelia!! 


Thanks to my friend Chantelle for letting me share these. Hope you enjoyed looking.
Hugs,
Pam

Wednesday, January 12, 2011

Aly's Milk and Cookies Birthday Party {Real Party}

I have mentioned earlier that two of my three kids have birthday right after Christmas, so we celebrate their actual birthday with my side of the family (which consists of my parents and two brothers). Then in the Summer (spreading things out a bit) we throw a large 1/2 birthday party with my husband's side of the family and our kids friends. For Aly's 6th birthday a couple of weeks ago we celebrated with a low key "Milk and Cookies" party all done up in PINK of course! 


Who doesn't love milk and cookies, especially when you can glam up the way you serve your ice cold milk. I used inexpensive plastic margarita glasses adorned with a party circles tied on with the Twinery's "Cappuccino" twine. I then topped off the glass with a scalloped shaped gingersnap cookie.  I carefully sawed 1/3 of the way through each cookie so that they would sit on the rim. NOT and easy task as they snap easily, so if you try this make lots of extras!!! I think I went through half a box to get 8 cookies...although it was worth it, cause DANG they turned out cute if I do say so myself. LOL!


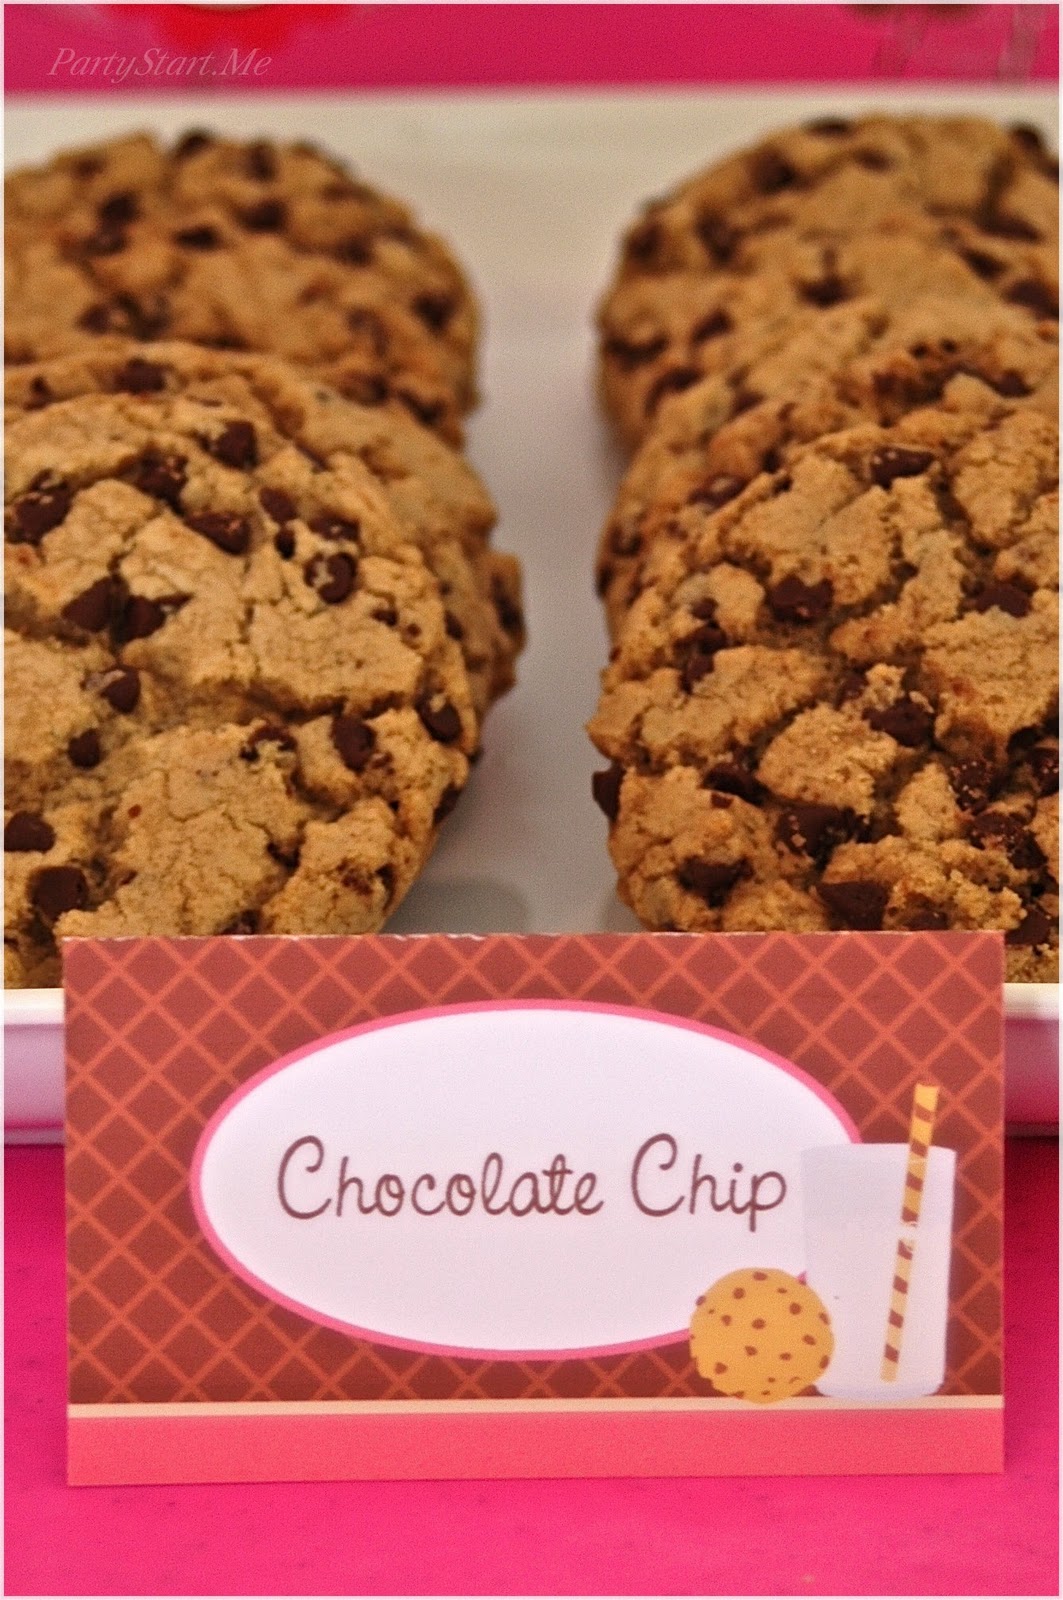
I was so lucky to have my little brother in town from California for the holidays. He is a baker, and a good one! So he took Aly one afternoon and baked cookies for the party. Aly of course loved all of the attention and even used her new Martha Stewart baking set she got for Christmas! SO sweet!! We also included "Wafers" which come in the perfect coordinating colors for this collection, pink, cream and brown as well as Sugar, Peppermint and Pirourette cookies.


Just because this is a Milk and Cookies party doesn't mean we could leave out the cake. I used mini cupcakes, so that we would have something to stick the birthday candle into and to show off the cupcake toppers!


 Using recycled Starbucks Frappuccino bottles I wrapped the bottles with a label then filled each bottle with milk.  I taped a banner piece to a lollipop stick then with a glue dot adhered it to the inside of each bottle. A unique way to display a sentiment or in this case, the birthday girl's name.


I think the item I love most on this table have to be the "Milk Carton" favor boxes filled with small cookies. These will be a new item showing up in my Etsy shop SOON!! 


Here is Aly posing again, she made sure her outfit matched her decor! Thanks Aunt Nana for the perfect birthday outfit!!


This party would work out perfect for a baby shower, toddler birthday or heck why not Valentine's Day!

I hope you had fun looking today. I am SO excited about tomorrow's "Tasty Treats Thursday" blog post...one word...ok two words...Dougnuts and GIVEAWAY!! Oh yeah Dough-A-Deer will be here with a fabulous Surprise!!

Thanks for stopping in today.
Hugs,
Pam

*I created the "Milk and Cookie Pink" printable party collection for Sanqunetti Design using Judy Sanqunetti's artwork which you can purchase HERE

**COMING SOON to Party Starters' Etsy Shop, finished product from Milk and Cookies the pink collection!** If you have any questions or you are interested in this set please feel free to contact me!

Wednesday, December 29, 2010

Bring On The Cake!

Today's post should pretty much cover it all when it comes to cakey goodness.  A great Vegan cake recipe, cupcake favors and cupcake decorations!


First up, this fun printable Cupcake Party collection created by Zboooh Design Studio. I love the gingham pattern used in this set and thought it would look adorable displayed on my daughter's play kitchen. I love using my kids favorite toys as props and this worked out perfectly.


The tags in this collection reminded me of old time jelly jar labels, which got me inspired...Cupcake In A Jar! I love sending home favors and this one is just so fun. Who wouldn't want to go home with a cupcake or two to enjoy later. I used a pint size mason jar, which fits two cupcakes with plenty of frosting. Take off the cupcake wrappers, place one cupcake in the bottom, pipe on some frosting, add some sprinkles and repeat each step a second time. Print out the label, cut and adhere to the front of the mason jar, SUPER EASY! I spruced it up a bit by adding a cupcake topper printable to the lid along with some gingham ribbon in three different colors along with a cupcake pick for decoration.


You can read more about this collection over at MG Party Impressions, where I have posted all of the details. This collection will also be available in my Etsy shop on January 10, 2011, customized, printed and assembled just for you!!

Now for the best chocolate cake recipe I have ever made...tasted...ok...drooling over here! My Mom made this cake for me growing up and I never realized the whole time that is was Vegan...which has been a nice little bonus for all of my friends with food allergies or of course who are Vegan. This cake is super easy to make, dense and moist.

Quick Chocolate Cake
Combine in large bowl
  • 3 C flour
  • 2 C sugar
  • 6 tbls cocoa (either milk chocolate or dark, both are delicious)
  • 2 tsp baking soda
  • 1 tsp salt
Add
  • 2 tsp vanilla
  • 2 tbls vinegar
  • 2/3 C + 1 tbls vegetable oil
  • 2 C + 1 tbls warm water
Beat well and pour into greased 9"x 13" pan. Bake at 350 degrees for 30-35 minutes.


For my son's birthday yesterday I used this recipe to make his 5 layer cake (2 batches). Here you can only see 4 of the layers. OH and of course I ruined the Vegan-ness of this cake by adding buttercream frosting.
The recipe for buttercream is the most amazing I have made which came from Brandi of Tweedle Dee Designs. I could literally eat a bowl of this frosting with a spoon. I would most likely feel like crap after, but yes it is that good!

Buttercream Frosting
Beat together
  • 1 C butter
  • 3 C powdered sugar
  • 2 Tbls Heavy Cream
  • 1 tsp vanilla 

I added about 1- 2 Tbls Hershey Syrup to get the brown I wanted for this cake, plus it added a hint of chocolatey goodness to the recipe. SO GOOD!!

Alright, hope you have been inspired to think out side of the box with your favors, displays and a new recipe...I am off to eat some cake! WHAT...its lunch time...

Hugs,
Pam

Tomorrow...Tyler's Owl Party, here's another sneak peak...

Sunday, December 12, 2010

Diary of a MOMpreneur {December 2010}

WOW it has been a while since I have done a Diary entry...can you say craziness??? Of course I couldn't be more happy with how things are moving along and how Party Starters is evolving. I will just keep swimming and see where the future takes me.


I am sure you have all heard that I was asked to be the lead Party Planner. There are NO words to describe how much I am loving this new position and a part of such a great group of designers! I get to set up party after party every month...LOVE IT!! Here are photos from the first party I created for the My Grafico party blog called MG Party Impressions. A Jungle themed birthday, which would also be super cute for a baby shower!


This party collection was created by Blackleaf Studio, you can purchase the DIY printable collection HERE. Starting in January I will be selling this collection already printed, assembled AND I will customize the invitations, place cards and party favor toppers for you! So excited about this!!!

Another fun perk of this job is that I am also creating party printables using the amazing artwork created by the My Grafico designers. Here is my very first printable collection that I designed using clipart and pattern papers from Sanqunetti Designs. This Milk and Cookies party printable collection is not just for Christmas though, it has a ton of Birthday pieces as well as blank pieces that you can customize yourself! YES, this collection will also be available in my store in January 2011, printed, fully assembled and of course customizable! SO EXCITED!! You can find this DIY printable collection as well as the clipart and digital pattern paper HERE.


 I have lots more parties themes in the works, with my oldest son's (real) birthday on the 28th of this month, then my daughter's (real) birthday on January 6th. LOTS to do this month!! OH yes and I am officially my daughter's Daisy Troop's "Cookie Mom", so I will be starting all of that here real soon too!! Just not enough hours in the day...seriously!!

Anyway just wanted to share a tiny little portion of what I have been up to. See you on Monday with Day 9 of my 12 Days of Christmas Crafts and Party Favors!

Hugs,
Pam

Thursday, December 2, 2010

12 Days of Christmas~ Day 2 {Felt Mice}


Welcome to Day two of our Christmas Crafts and Party Favors for Kids. Today's project is a great party favor for the kids classroom parties.  Yes, this is another project from Martha Stewart's Craft Dept. Aly saw these as we were flipping through for inspiration and she literally squealed with delight! We HAD to make these for her friends at school. The directions say to enlarge the template 150% but we printed the template without making any changes, to keep them on the smaller side. This way we use less felt and with the money we saved Aly was able to pick out "Fancy" google eyes for her mice. LOL

The directions are rather simple and can also be found on the Craft Blog at MarthaStewart.com


Print & cut out the template, then pin your pattern to the felt and cut out your shapes. 
( I just held the pattern on the felt and cut around it)

 
Tuck your ears through the head slots which run vertically. Glue on your inner ear pieces as well as the eyes if you choose to use googlie ones. 


"Weave" your candy cane through the horizontal cut slits and Voila!


You have yourself a cute little Candy Cane Christmas Mouse.

These of course can be made in any color and I think would be really cute done in black and orange for Halloween. Give them a try, they are pretty simple and obviously from the picture of my daughter a huge hit with 5 year old girls! 


On another note I wanted to share a party that I styled as the New Head Party Planner for  My Grafico. They have recognized the huge market for printables and have started a blog called MG Party Impressions to help inspire those wanting to create their own unique parties . You can see my first blog post and styled party HERE!

Have a wonderful day and I will see you tomorrow for Day 3 in our 12 Days of Christmas series!
Hugs,
Pam

LinkWithin

Related Posts with Thumbnails