
 I am so excited to share the first of 5 great Halloween ideas with you this week. Karie aka 1 Crafty Gal shared this idea with me about a month ago and I have been dying ever since to share it with all of you. Karie and I met through blogging, gosh 4 years ago?? We started following each others blogs and have had countless conversations over the internet. I can't even tell you how many times Karie has been there to cheer me on when I needed a friend. She has also been there countless times to say she will "unfriend" me whenever I bring up anything Star Wars related. LOL Love you Karie!!
Anyway here is Karie's super stinking cute Halloween treat, which is absolutely perfect for a classroom of Preschoolers-1st graders. OH and not only is it cute, it is inexpensive as well. With out further ado here is Karie with her directions on:
The Pumpkin Patch
It's that time of the year again! Get ready for Halloween treats! Now, anyone who knows me, knows that I am frugal. Last year, around this time, my husband's work hours were getting cut and we still have kids who want to take treats into school. So, I had to think fast how to do something adorable but with little money and little time. I made a Pumpkin Patch...and this year, I will show you how.
Items you will need: Styrofoam block, Mod Podge, Circle Punch, Paper, Ink, Stamps, Scissors, Adhesive and Suckers.

Step 1. Cut out 4 pieces of paper that match the size of your block. This will be your grass. Do not cut a piece of paper for the top surface. You need to be able to push your sucker sticks in there easily.

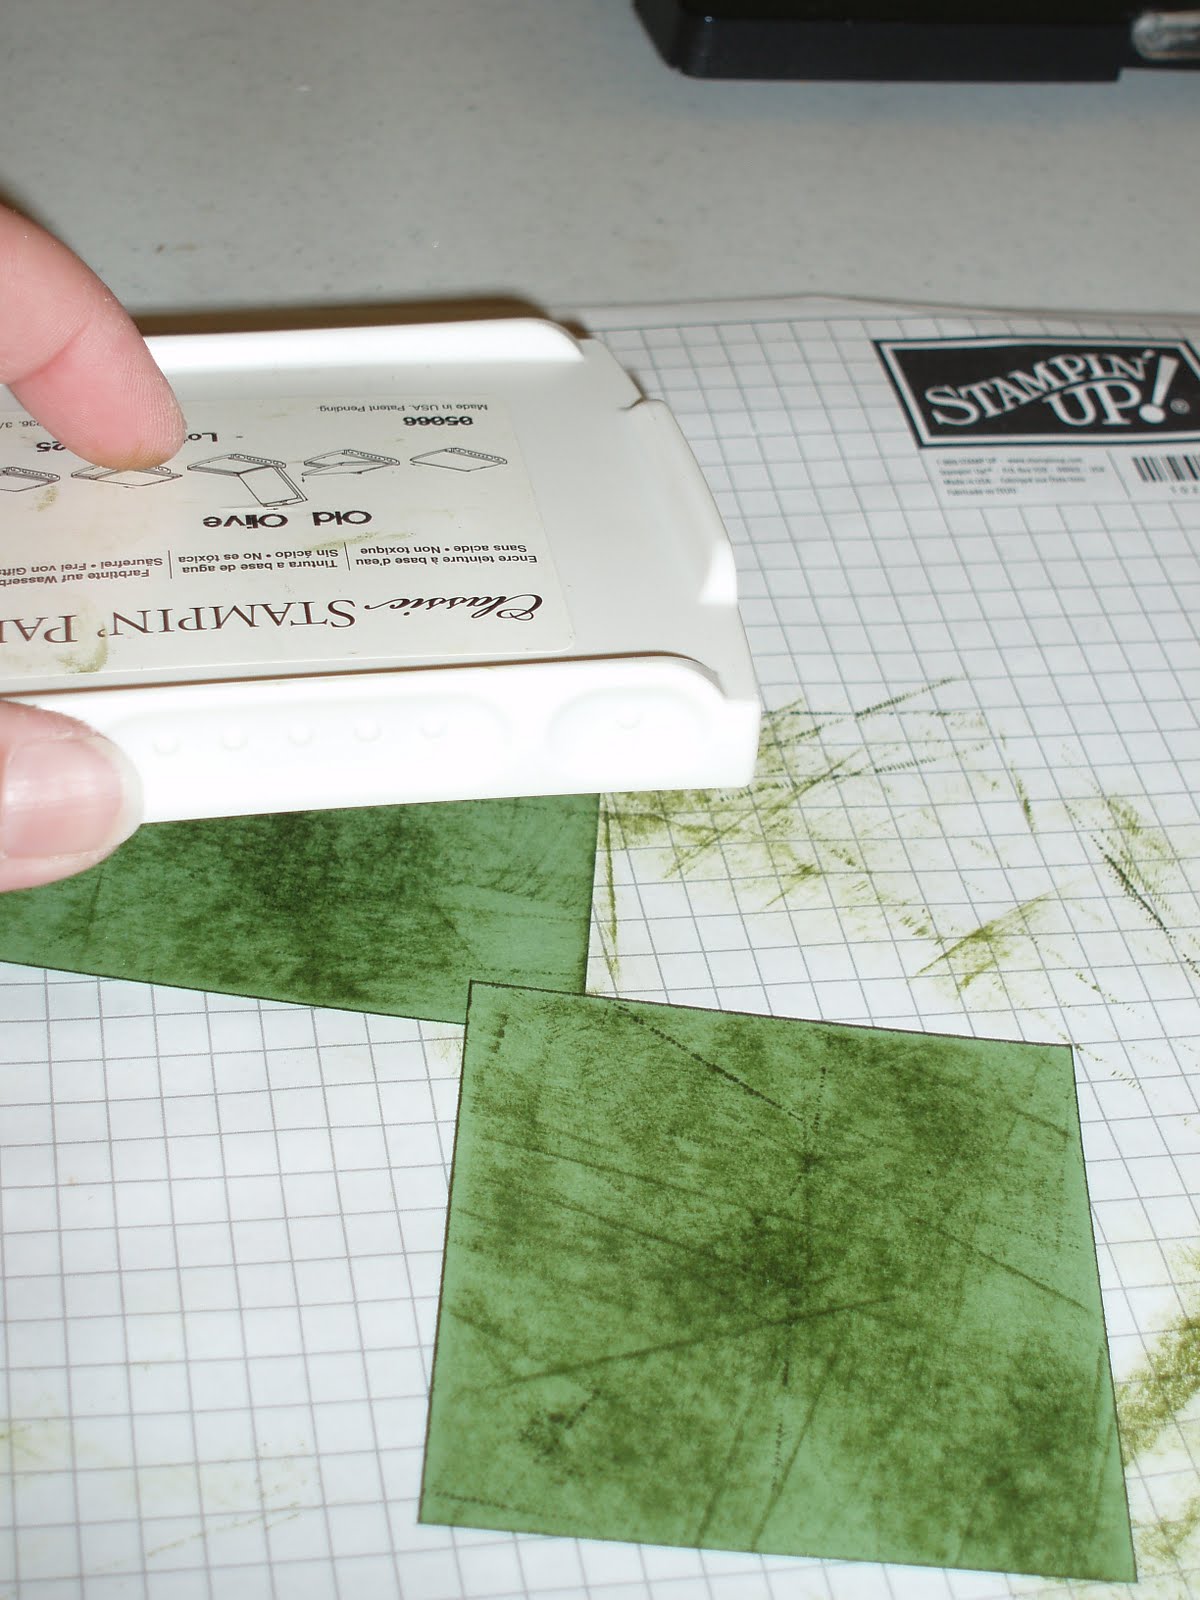
Step 2. Rub your ink all over your cut paper to give your grass some definition. I used a shade darker than my paper.
Step 3. Cover your block one side at a time with Mod Podge and glue your paper down. It will be much easier if you let each side dry completely before moving onto the next side. *Note: You may need to put a heavy book on the glued area to keep the paper flat against your foam block.

Step 4. While the glue is drying, begin punching out your circles for the pumpkins and stamp your images on the circles.

Step 5. Glue your pumpkins onto your suckers with regular adhesive.

Step 6. Now that your grass is glued to your foam block and is dry, go ahead and cut slits into the grass and fan it out by brushing your hand gently over the cuts you made (think preschool days here).

Step 7. Push your suckers down into your block and different levels and you have created your pumpkin patch!

Thanks Karie for these easy step by step instructions! You ARE 1 Crafty Gal!!!
SO... while I was looking at this pumpkin patch another idea popped into my head...something that would definitely take more time, but of course would be really cute... A pumpkin patch made out of cake pops, just like these from Bakerella!

Make sure you check out Bakerella's latest post, she went to LA for the Emmy Performers Nominee Reception for Duncan Hines.
Well I hope you were inspired today with Karie's pumpkin patch and all kinds of fun ideas are floating around inside your head on how to make your own treats for the classroom OR for your office friends.
Thanks for stopping by!
Hugs,
Pam
Pam
this is adorable!! I may have to do something like this for my Halloween party :)
ReplyDeleteOMG! That is SO cute!! I may just have to do this for my little guys!!
ReplyDeleteLove his idea! Thanks for sharing!
ReplyDeleteSo adorable! I just worked with mod podge today for the very first time~ I think I need way more practice;)
ReplyDeleteSo cute! This is perfect for my daughter's pre K class!!
ReplyDeleteAhhh, cake pops! Why didn't I think of that! Too cute!
ReplyDeleteAnd, it seems like it was just yesterday that I found you. :) You are AWESOME!!!! <3