Showing posts with label Party. Show all posts

Friday, October 24, 2014

Astonishing Cakes' Fall Dessert Table

Renee from Astonishing Cakes is back today with her Fall Tablescape Challenge dessert table.  If you missed her challenge entry post yesterday, hop on over to check it out as well. ~ Pamela


Wednesday, September 17, 2014

MY LIFE SQUARED {9.1.14-9.15.14} EVERYDAY LIFE

Here is "My Life Squared", some of the moments I captured over the past few weeks. 


Since school has started back up I have been able to do a bit more creative stuff. Here are some boxes I created with a beautiful watercolor print. These were part of a nautical wedding photo shoot and I can't wait to see how everything turned out!!


My oldest son, Tyler and I have started making fun little felt creatures called Squatles. Tyler creates some of the "nerdy" designed Squatles while I create some of the "cutesy" Squatles. Take a look at our little blog as well as our Etsy shop.


In addition to our Squatles we will be adding other fun felt creations. Here is a 4' bunting that fits perfectly across a front door, we will also have 6' and 8' lengths available in October 2014!! I am personally in love with this particular color scheme of blush, charcoal, oatmeal and mustard, it screams Fall to me.


For the rest of the month I will be creating some more fun watercolor boxes for a big wedding event that I will be sharing more about mid October. I will be taking a short trip to Iowa to see family, which I will be sharing on Instagram so follow along over there. Last, I will be creating a ton more felty goodness with Tyler for the Squatles shop and Pumpkin Fest here in Littleton which is the second weekend in October.  (more details on that later as well).

Have an amazing day!!!
DFTBA,
Pam


Monday, August 11, 2014

DIY Sweet Shoes Party {Real Party}

I was invited to a fun DIY shoe decorating party by the lovely Renee of Astonishing Cakes. Renee had been seeing images of shoes by designers that looked like real confections and thought the concept would make for a fun party project friends could do together.


We were each asked to bring our own pair of shoes to decorate and Renee supplied all of the decorating supplies, which included paints, beads, faux cherries, faux nuts and caulk, which make for wonderful faux icing. You can see a step by step tutorial on the shoes I created in my previous post called Super Sweet Shoes


We were treated with both a sweet and a savory table to snack from while created. Being the confection-ista that Renee is, her sweet table consisted of iced sugar cookies, cake pops and cupcakes. All of which were delicious as well as gorgeous!


The savory table was where we grabbed veggies, pickle rolls, chips and fresh fruit flavored water.


Here are what the finished shoes looked like at the end of the party. As you can see I am the practical one, with my cute little tennis shoes I can wear all summer. I love how whimsical the over the top decorated shoes my friends made and can't wait to see where my friends wear these. You might be shocked to learn this type of confection decorated shoe can sell for $200 + a pair!


My boxes did play a little roll in the party too! Guests used my Yellow and Baby Pink Pinstriped Alto Gable boxes to take home a few cookies in.

Such a fun time, I can't wait to attend or host another DIY party of this sort.

DFTBA,
PS

Credits:
Party Concept, Styling, Confections by www.AstonishingCakes.com
Printable place cards and banner by www.DandPcelebrations.etsy.com
Alto Favor Boxes by www.PamelaSmerkerDesigns.etsy.com


Friday, May 16, 2014

A Girlie Power Ranger 5th Birthday Party

I am happy to have my blogging friend, Melissa Newell here today to share an amazing party she
created for her daughter's 5th Power Ranger birthday. 


Wednesday, May 7, 2014

DIY Pretty Little Gift Ideas For Teachers, Friends and Family

I have a few more "box challenge" ideas for you today. These cute little gift ideas are from my blogging friend, Melissa Newell of My Party Passion.


Here Melissa used my white Breeve Gable Box and embellished it with scrapbook paper, twine and a fun cut out. Fill this little cutie with wrapped candies and gift cards, a perfect gift for your favorite teacher during teacher appreciation week or anytime during the school year!


Using another plain white Breeve Gable Box, Melissa created the perfect treat for a crafty friend. The box is decorated with scrapbook paper, ribbon and a cute tag. Inside some crafting embellishments like brads, buttons, washi tape, decorative clothes pins and a votive.


Last but not least using a plain Kraft Petal Box, a sweet birthday surprise for an adult friend. Not only did Melissa decorate the outside of the box with scrapbook paper, but also inside flaps. Fill the box with wrapped candies, a decorative magnet, a mini bottle of alcohol and a shot glass. This would make a fun bachelorette gift too! 

What little goodies do you think would be fun gifts to go inside my Mini favor boxes? 

DFTBA,
PS

Monday, April 28, 2014

A Little Celebration. Cupcakes and Champagne Included!

What could be better then celebrating with cupcakes, champagne and friends? Here is a little party I put together with my April Ambassador box I received from The Flair Exchange. Take a look...


The Flair Exchange Ambassador kit for April included the "orchid" tassel garland, coordinating 17" confetti balloon and package of confetti. I created the "Dream, Create, Celebrate" poster in black and white and had it printed as a 18" x 24" "Engineer Print" at Staples. The quality isn't meant to be the best, it has a few small smudges, BUT it cost less then $2. I used assorted Copic markers to color in the flowers, framed it and love how it turned out. I also created matching favor tags to go along with my black "Swiss Dots" petal boxes and filled those with the purple foil wrapped Hershey Kisses (dark chocolate). Some other items I used (all found at Target) were rolls of black and white polka dot wrapping paper, white with black polka dotted paper straws, fresh purple tulips & floral decorated cupcakes. I truly love how this turned out and the reason for the little celebration is even better, but I will share what that is later this month.

Thanks for taking a look!
DFTBA,
PS

Monday, March 31, 2014

The Fault In Our Stars Movie Premiere Party At Home

I have said it many many times, I am in love with the book The Fault In Our Stars. A sweet and short love story about two teens with cancer, only the book isn't about cancer. I love the metaphors, I love the  characters sense of humor... I just love it. Plus I adore the book's author, John Green. His Vlogbrothers, The Art Assignment and Crash Course History YouTube channels are a few of my favs!! 

You might imagine my excitement when I heard that the book was being made into a movie and comes out June 6, 2014. I have watched the preview for the movie several times and I can't get through it without crying. I will be bringing a box of tissues to the movie theater with me for sure! Anyway... I put together a little party that I want to share which includes some of the fun elements from the book and from what I can tell, the movie as well. These are just a few of the images I took myself. The full party and professional images, by Michelle Young Photography will be in Polka Dot Balloon magazine which comes out June 2, 2014. Stay tuned for that!!
*Edited* Check out the Magazine Feature HERE


I created popcorn boxes, Alto gable boxes, luggage tags, Kleenex wrappers, party squares (freebie at the bottom of this post), Amsterdam flags and posters for this party. You can find the favor boxes, tags and other items I have created in my shop.  I will be hanging the large quote posters in my new house when we move this summer. They are a couple of my favorites.
I asked Carmen from The Flair Exchange for a custom tassel garland and confetti in the "TFIOS color scheme of blue, yellow, black and white. I am a stickler for details and am never let down by The Flair Exchange's products. 


 I love working with Renee of Astonishing Cakes, her work is absolutely amazing! Renee created orange flavors cake pops, fondant cigarettes and this incredible cake with Hazel's swing set sitting on top, the cloud design from the cover of the book, along with many of the quotes from the book which makes a fun graffiti style design. IN LOVE with this cake!! 


When my husband and I bought the audio book set from www.dftbarecords.com we also received some goodies with the package, like postcards from the different places visited in the book, a concert ticket and bracelet which all made for fantastic party props. 


I also created a faux "An Imperial Affliction" book cover. This imaginary book plays a big role in "The Fault In Our Stars", so it's presence was a must. Along with the book cover I made a little cartoon image with Hazel and Gus, the main characters that shares yet another quote from the book "I fell in love the way you fall asleep: slowly, and then all at once.”- John Green


Last but not least, I picked up some of these flair buttons from Hello Stranger on Etsy. A perfect little party favor along with a small package of tissues and some candy for the movie! 


Now for a little freebie!! Feel free to download the party squares I created for this shoot and use them for your own personal use. Make cupcake toppers, like I did here, tags, you name it!! If you end up using these I would love to see your creation, so please share with me!! Just click on the link below...

DFTBA,
PS

Monday, March 3, 2014

Spring Oreo Cake

One of the most popular images on my blog according to Pinterest is the photo I took of the Oreo cake at Martha Stewart's Blogger's Night Out back in 2010.


Back to the cake, when I see my photo pinned there are usually comments like, "how was this put together?" or wouldn't this be fun on a smaller scale. SO I am sharing what I have learned from doing this myself.

Here is what you need:

3 packages of Spring Oreos ( they have yellow filling and some of the cookies have "Spring" time images on them).
An 8" in diameter cake plate or cake stand

Step 1. Starting on the outside place 10 qty Oreos around the edge of the cake plate so that they create a circle and are all touching on the sides. fill in the center with approximately 3-4 Oreos (I used the chipped or cracked ones for the inside since you won't see them).
Step 2. Start your next layer on the outer edge placing each cookie on top of where the bottom two cookies touch each other. Just like you would lay bricks. Keep going all the way around and fill up the center too.
Step 3. Repeat the process until you have 6 layers of cookies.


Just like the cake at Martha's event, nothing holds it together, just the weight of itself. How do I know, well because I watched a lady back into the cake and half of it fell on the floor. LOL I also tried going a bit smaller in diameter and it just didn't look right, I am sure it's a math thing LOL. Maybe you could go smaller if you use the mini Oreos, but that would take a of cookies! I want to say the original cake at Martha's took 30-40 packages of cookies, but I could be wrong. I know it was a TON though.

I am definitely going to do this smaller scale cake again for a party here at home and serve small glasses of milk with it.  I will also make it with the Mint Oreos, how pretty would that be with the dark brown and mint green...YES!

Have fun trying this and please share if you do! Don't limit yourself to Oreos, you could play with any sandwich type cookie.

DFTBA,
PS


Monday, May 21, 2012

Cake Pop Favors

I am sure I have posted this before, but I just had to do it again for those of you who may have missed it. One of my favorite party favors to hand out at the end of an event is cake pops. A fabulous way to hand these out it to wrap them up in one of my cute little Petal Favor Boxes. I made this one to coordinate with PSMIYO's "Little Miss" party printables.


Simply place a cupcake wrapper inside the Petal box, place your cake pop inside with the stick standing up and close up the petal shaped top. Add a decorative bow to the stick if you like to finish it off. Super cute!! My favorite flavor of cake pop is chocolate with peanut butter coating...yummy!!


Hope this inspires you to give out a sweet little treat at the end of your next party.
Hugs,
Pam

Petal boxes in Pick a Pattern/Pick a Color can be found in the "Petal Boxes" section at Pamela Smerker Designs on Etsy HERE

Tuesday, May 8, 2012

A Sweet Giveaway!

***This contest is now over***


The winner is comment #23!! Congratulations Robin who said "I love the Mini Chevron design...in green of course. What other color is there! I already follow you...I think...in all of the above ways (I have to make sure about Pinterest). "


Over the weekend I had the great opportunity to meet and spend some time with a special party girl that I admire so very much.  Courtney Dial, (soon to be Mrs. Whitmore) from Pizzazzerie has been such an inspiration to me over the past 3 years with her non stop dedication to sharing everything there is to know about throwing a fabulous party. Courtney has recently added book author to her long list of talents, publishing her first book "Push-up Pops".  I was absolutely thrilled that Courtney came to Denver for a book signing and that she not only signed a copy of her book for my own personal collection, but also a copy for one of my fabulous blog readers!!


Since I am working like crazy this week to get the NEW shop open (not an easy task with now two sick kiddos to take care of) I thought it would be a great time to do a little giveaway! Eeeekkk!!

New patterns to choose from L to R: Circles, Leaves, Mini Chevron, Quatrefoil & Honeybomb

Not only will one of you fabulous readers have a chance to win a signed copy of "Push-up Pops"by Miss Courtney as well as the book signing goodies (the mini red rubber scraper and pink measuring tool, shown on top of the book in the photo above) but also a package of my 12 Mini Gable boxes from the new Pamela Smerker Designs pattern collection. I have created five new patterns and each of them can be done in just about any color you choose!  So here are the deets on how you can win...


Must be completed to enter:


~Leave a comment on this blog post sharing which new pattern is your favorite and in which color would you choose. *Please be sure to leave an email or link so that I can contact you, if you are the winner. 
Here are a few more ways to enter (but not required):


~ Follow Pamela Smerker Designs blog through either Networked Blogs or Google (see sidebar) . Leave a comment below letting me know you are following.

~Follow/ Subscribe to the Pizzazzerie blog . Leave a comment below letting me know you are following.


~ Follow the NEW Pamela Smerker Designs Facebook Page. Leave a comment below letting me know you are following.


~Follow Pizzazzerie on Twitter. Leave a comment below letting me know you are following.


~ Follow PamelaSDesigns on Twitter. Leave a comment below letting me know you are following.


~ Follow PSDesigns on Pinterest. Leave a comment below letting me know you are following.


This contest will end on Sunday, May 13, 2012 at 11:59 PM (MST or G-7). Entries received after the deadline will not be considered. One winner will be chosen using Random.org and posted at the top of this blog post within 5 business days of contest end.


Best of luck!!! 
Hugs,
Pam


Wednesday, January 18, 2012

The Sundry Soiree Challenge {contest}

Are you ready to be challenged? Lisa Komer owner of Fancy That and the girls at PS Make It Your Own are prepared to do just that...challenge YOU!! 


The Sundry Soiree  Challenge is a twist on the traditional designers challenge. Every 6 weeks we will announce a theme and 5 mystery components found in most homes. YOUR challenge is to design a soiree using at least 3 of the mystery items out of our 5 listed. You will have 2 weeks to put your creativity to the test and submit photos of your design! OH and we realize not everyone has the ability to take professional quality photos, just send your best!

We have five judges who will be looking for the most creative use of our mystery items. The winners of our first 6 rounds/challenges will then compete against each other in one final round for a fabulous prize package!

Here they are...your judges


Round 1 of the contest will begin Wednesday, January 25th 2012 when we will post the theme and what 5 five items are in our mystery box.  Stay tuned and get ready to be challenged!!! 

Monday, April 25, 2011

The Royal Wedding {Motivate Me Monday}

The royal wedding is fast approaching and I have seen a few free printable collections pop up on the WWW. This gorgeous photo is from Hostess with the Mostess' "Royal Wedding Themed" post  (which includes free printables) and has me motivated to create a fun party to celebrate Prince William and Kate's wedding.


If you know of any free Royal Wedding Printables out there, please leave a comment with the link. I will be compiling a list of these collections to share with all of you.
Happy Monday!
Hugs,
Pam

Wednesday, September 22, 2010

Party Ghouls Boo Crew Halloween Party Part 1

Back in August I contacted Bonnie from Sadie Days Photography to see if she would be interested in photographing a mock Halloween Party. She agreed and we decided that it would be even more fun to use our children as models. I am so glad we did, the pictures of them are precious and I will forever treasure the ones with my daughter.

So I put out a call to my fellow Party Colleagues to participate. I wanted to show how amazing a party could be styled with a variety of items from different people in the party world.  The response was amazing and instead of one party display we ended up with two, a Children's party and and Adult themed party. 

Most of the items sent to me were party ready. Do to the time frame we were working with I had to assemble some items myself, like the cupcake kits sent to me by Red Velvet Stefanie, the Invitation & cupcake picks from Blush Printables, the menu item tents & t-shirts which were made using images from Oh My Gluestick (with permission of course). 

I used my glass collection and a few purchased items to style this party. I also bought the witches hats and vampire cape to complete the children's outfits. I think they look adorable! 

I am completely thrilled and honored to show you part one of our Boo Crew Halloween shoot.

The Children's Halloween Party. 

Party Flags by The Purple Pug, Kandy Kones by Celebrate Today the Super Chick Way

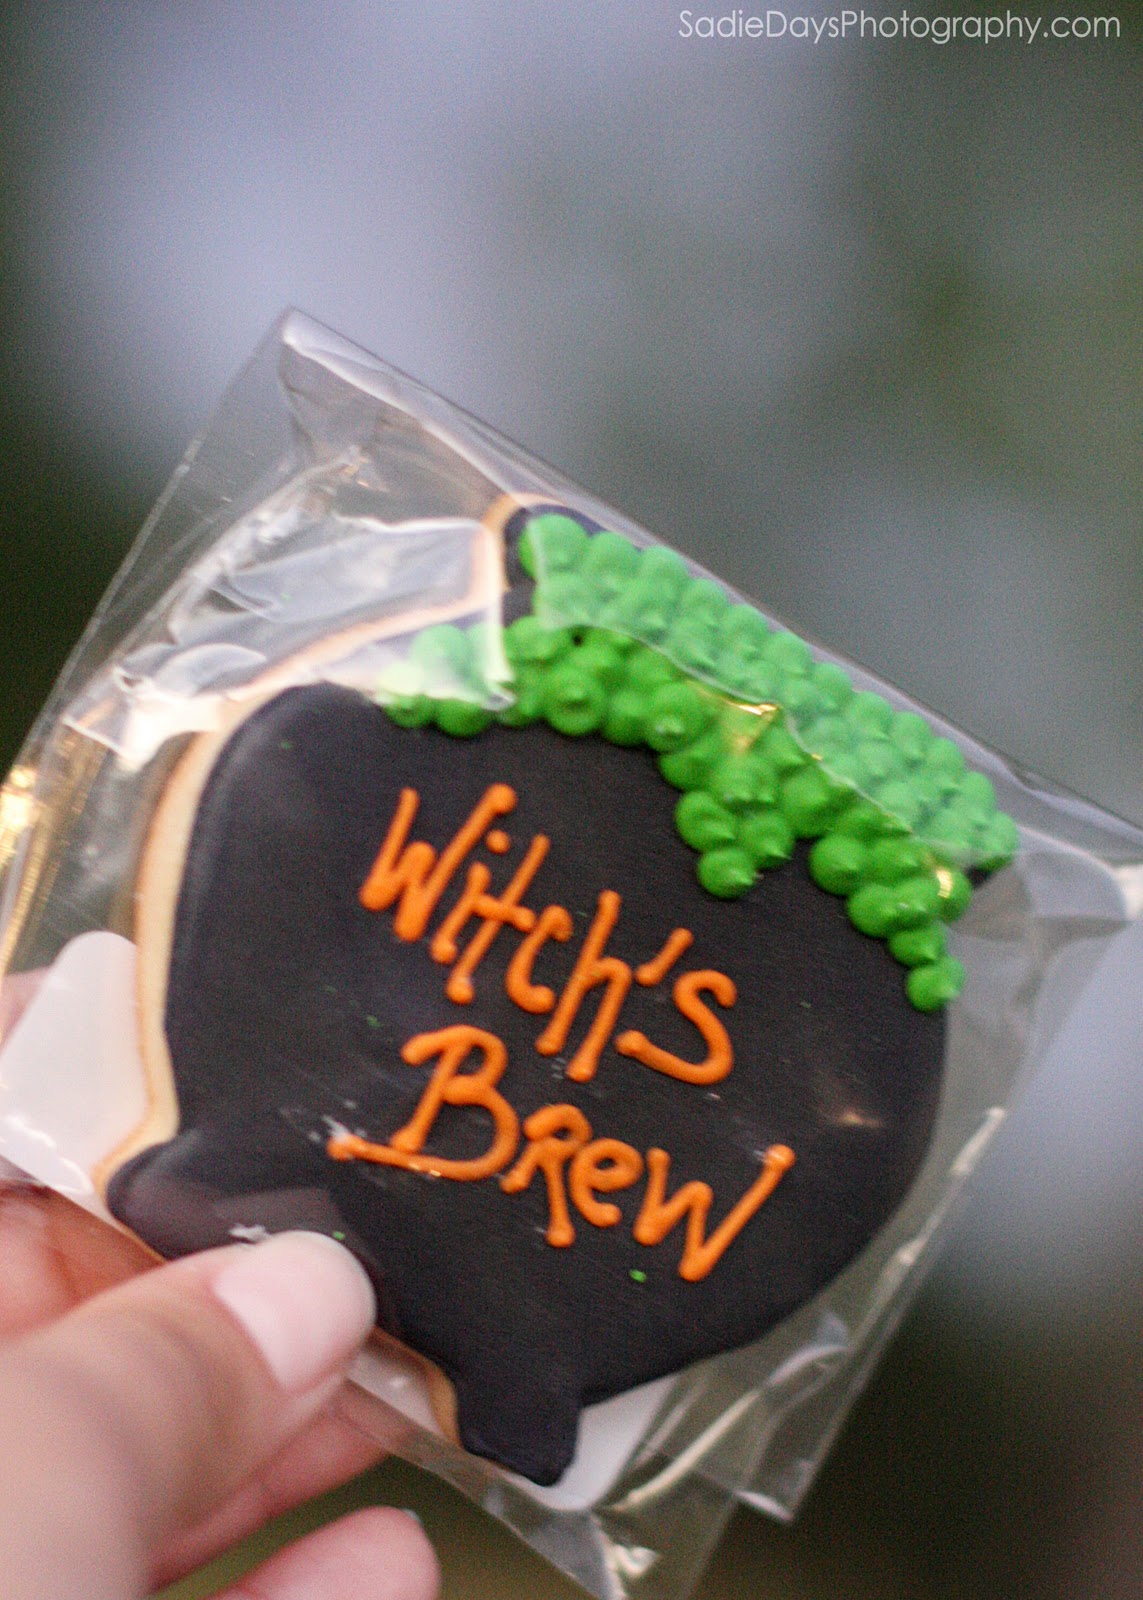
Cookies by Sandy's Baking Memories

Marshmallow Pops by Stix N Pops

Invitation and cupcake picks by Blush Printables

Water bottle labels by The Paper Cupcake, Menu item tent sign by Oh My Gluestick

Tutu by Tweedle Dee Designs


Tutus by Tweedle Dee Designs

"Spooky Treats" sign by Oh My Gluestick, Boo Velvet Cupcakes by Red Velvet Stefanie, Cookies by Sandy's Baking Memories, Cupcake Topper by Blush Printables

Cupcake Pick by Blush Printables, Cupcake by Red Velvet Stefanie

Party Coordination & Styling by Pamela Smerker


T-Shirt Design by Oh My Gluestick

Marshmallow stix by Stix N Pops

Wood Blocks by Tiny Giraffe

"Happy Halloween" Banner by Two Savvy Sisters

Kandy Kones by Celebrate Today The Super Chic Way

Rock Candy Soap by Milk & Cookeez

Tutu by Tweedle Dee Designs, T-shirt designs by Oh My Gluestick

Candy Corn Favor Box by Party Starters, Halloween Stickers by The Paper Cupcake

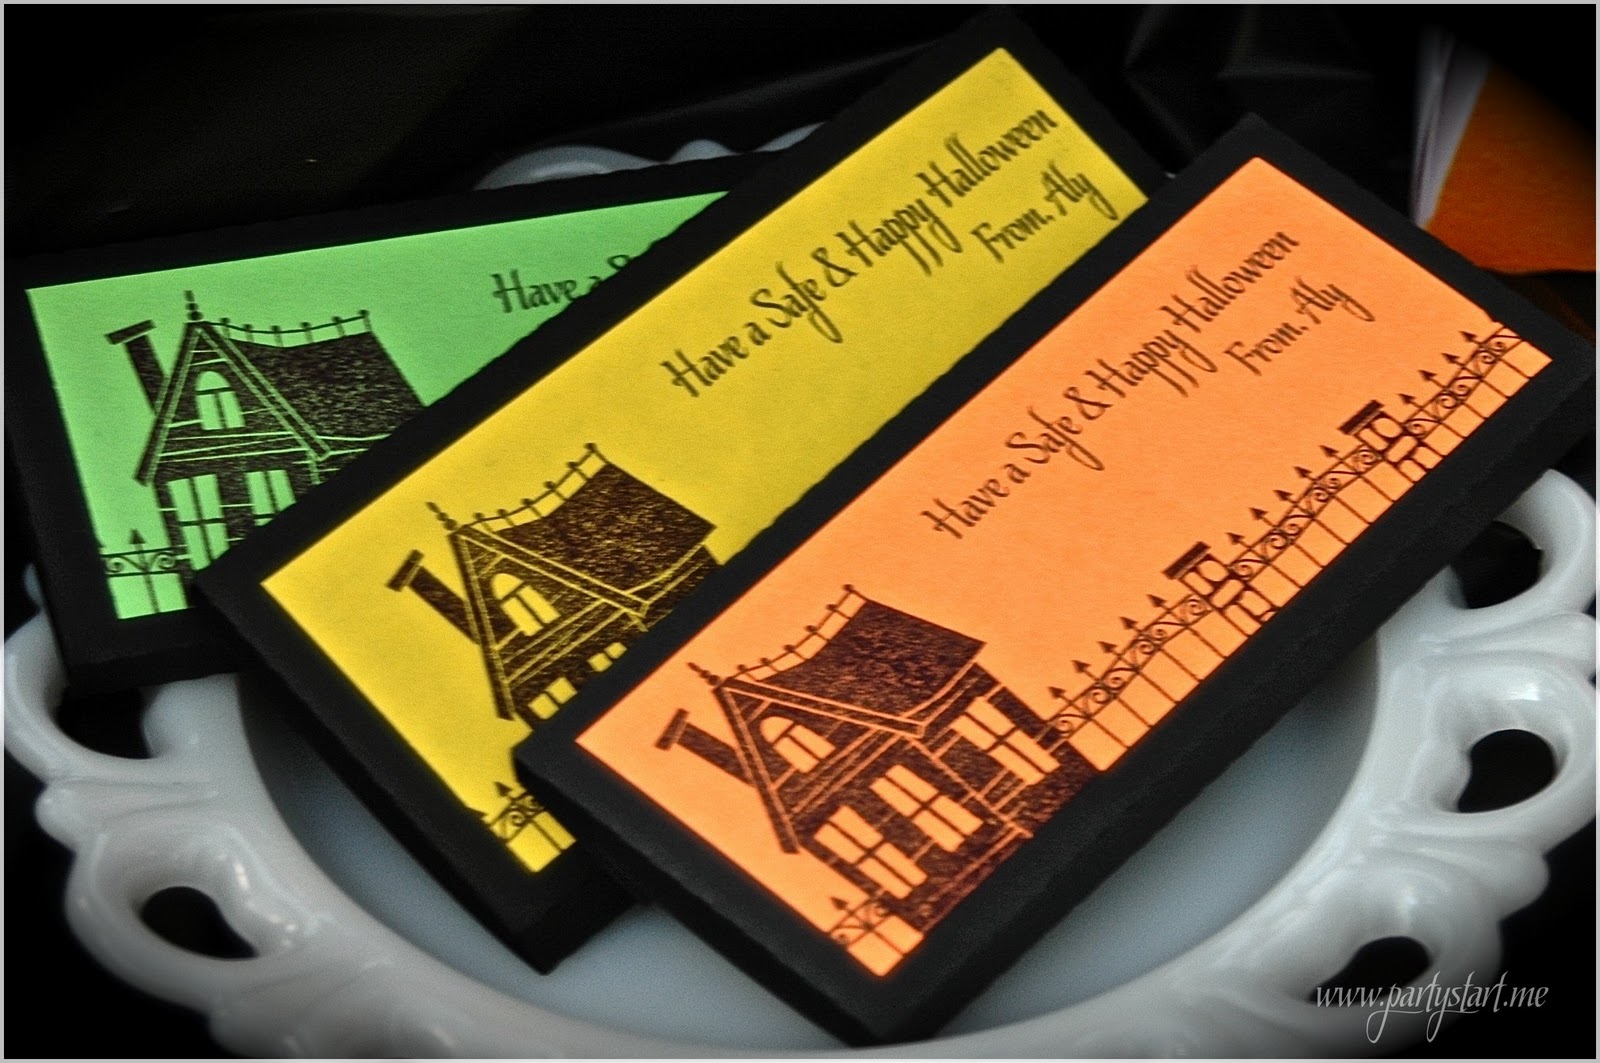
Custom Candy Bar Wrappers by Party Starters

Photography by Sadie Days Photography

 So there you have it....what do you think? Which photo is your favorite? I am not sure if I could pick just one.  All three kids had so much fun and loved everything about the "party".

Here is the list once again of everyone who contributed. Make sure you check them out, they are all extremely talented women! I can't thank them enough for helping my vision come to life.

  1. Jen from Blush Printables: made Adult and Children's Invitations, Children's cupcake picks, tags on bottles & test tubes from the adult table.
  2. Sandy from Sandy's Baking Memories: Made the children's table cookies, with names on them and Halloween Shapes
  3. Charlotte from The Paper Cupcake: Made the Stickers, water bottle labels for the Children's table
  4. Brandi from Tweedle Dee Designs  Made the tutus
  5. Kristy from The Purple Pug:  Made the 3 Big Circle "flags" on the Children's table (the ghost, bat and candy corn)
  6. Tammy from Milk & Cookeez:  Made the rock candy soap sticks (children's table)
  7. Nicole from Two Savvy Sisters : Made the Children's table banner that said "Happy Halloween"
  8. Genevieve from Celebrate Today The Super Chick Way: Made the "Kandy Kones"
  9. Amy from Tiny Giraffe: Made the "BOO" wood blocks
  10. Laurel from Go Against The Grain : Made the cupcake flags and straws that were on the Adult table.
  11. Ally from Girlie Gatherings : Made the Adult table cookies that matched the tags and invitation by Jen.
  12. Elizabeth from StixNPops : Made the marshmallow creatures on the sticks
  13. Stefanie from Red Velvet Stefanie: Sent the cupcake mixes to make Blue Velvet  & Caramel Apple cupcakes
  14. Tommie from Oh My Gluesticks : Made the little pop tent signs that said "Witches' Brew", "Creepy Cupcakes" etc. Also made the image that was printed on the kids t-shirts. 
  15. Bonnie Bubb from Sadie Days Photography: Photographer 
  16. Pamela Smerker from Party Starters: Project coordinator, Party Stylist, Candy Corn Favor Boxes, Cupcake Wrappers, Candy Bar wrappers.
A HUGE thank you to my friend (and newest addition to the Party Starters team) Dawn who helped me lug all of the items and tables down to this location along with my kids.While it was a pain getting everything down there and set up in the heat, it was SO worth it in the end. Another shout out to my husband for putting up with my mess and creative outbursts the day of the shoot. LOL  He will never know how much his support means to me! I love you Al!

Tomorrow...the Adult Table photos!
Thanks so much for stopping by.
Hugs,
Pam

LinkWithin

Related Posts with Thumbnails